Tangled hair isn’t just frustrating—it’s a daily tug-of-war that leaves strands broken and your scalp screaming. Most people grab the nearest brush and yank. The results? Frizz, split ends, and thinning at the roots. But what if the real problem isn’t your hair—it’s your tool?
The Hidden Damage of Conventional Detangling
Standard plastic-bristle brushes weren’t designed for curly, coiled, or thick textures—they were built for speed, not care. They snag knots and pull from the root instead of working through tangles section by section. And cheap “detangling” claims? Marketing fluff.
Here’s the reality: force equals breakage. Every harsh stroke rips the cuticle, weakens elasticity, and triggers inflammation along the follicle line. Over time, that leads to traction alopecia—especially around the temples and nape. You don’t need more product. You need a smarter approach.
How to Actually Detangle Without Wrecking Your Hair
Forget yanking. Real detangling is a ritual—not a race. It starts with hydration, ends with patience, and hinges on using the right hair detangling brush for your specific strand pattern.
Step 1: Prep with Slip
Never brush dry hair. Apply a leave-in conditioner or water-based detangler to damp strands. Water alone isn’t enough—it evaporates fast. You need slip that lasts through the process.
Step 2: Section Like a Pro
Divide hair into 4–8 sections (more for dense or long hair). Clip away what you’re not working on. This prevents new tangles from forming mid-process—and reduces tension on any single area.
Step 3: Choose Your Weapon Wisely
Not all detangling tools are equal. Below compares common options based on texture type, cost, and damage risk:
| Tool Type | Best For | Avg. Cost | Breakage Risk |
|---|---|---|---|
| Wide-tooth comb | Coily, fragile curls | $3–$8 | Low (if used gently) |
| Flexi-bristle brush | Wavy to loose curls | $10–$22 | Moderate |
| Boar + nylon hybrid | Straight to fine hair | $15–$30 | High (on wet hair) |
| Hair picks with rounded tips | Thick, high-porosity coils | $9–$18 | Very Low |
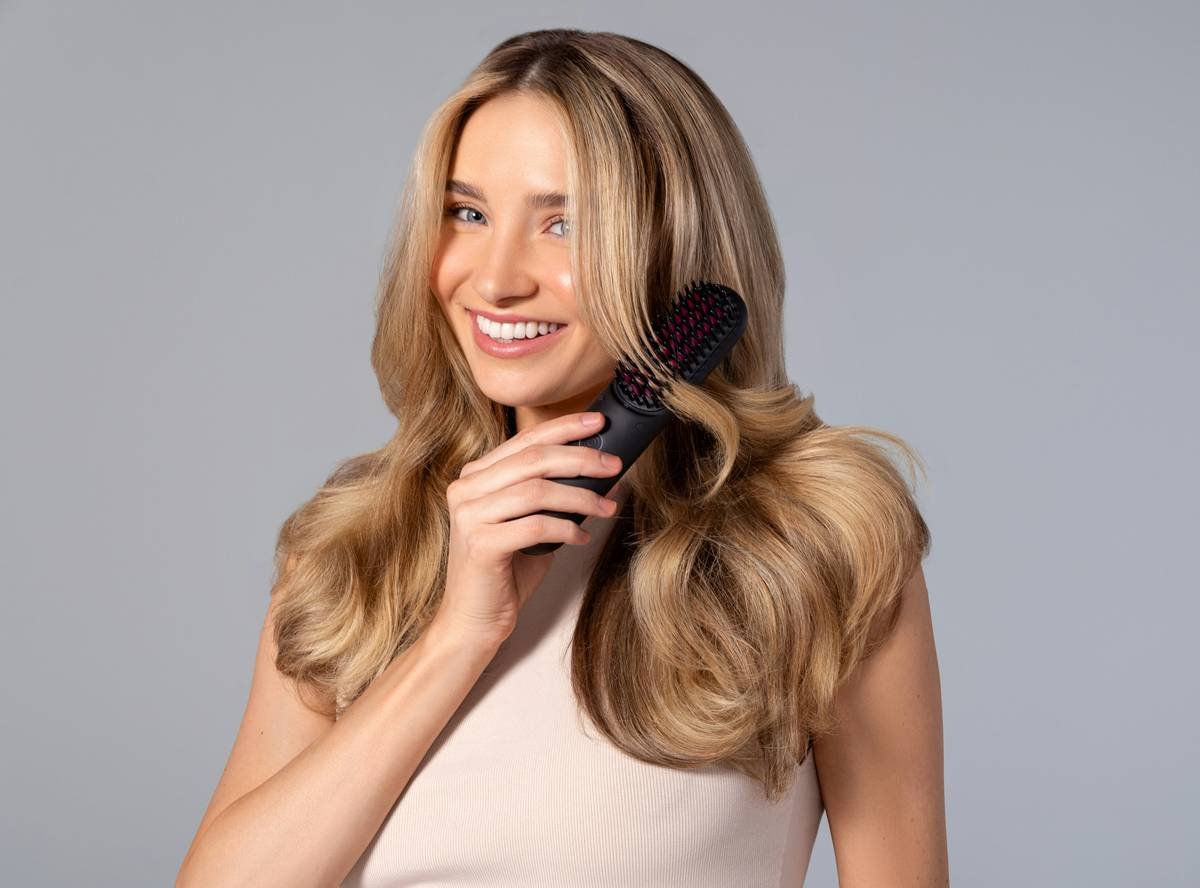
Your hair detangling brush should never feel like sandpaper against your palm. If the bristles don’t flex when pressed—if they snap back rigidly—they’re too aggressive.
Step 4: Start Low, Work Up
Begin detangling from the ends, not the roots. Hold the top half of a section to reduce pull on the scalp. Use short, featherlight strokes upward. Only move higher once the lower portion glides freely.
The Stylist Secret No One Talks About
Most pros don’t use brushes for initial detangling—they use their fingers first. Yes, fingers. Why? Because tactile feedback lets you feel knot density before applying any tool. A good stylist spends 60% of detangling time finger-combing under running water in the shower. Then—and only then—do they bring in a gentle brush or pick.
And here’s the twist: temperature matters. Lukewarm water opens the cuticle slightly for easier slip. Cold? It seals it shut—making knots harder to release. Hot? It strips natural oils, worsening future tangles. The sweet spot? 98°F—body temperature.
Frequently Asked Questions
Can a hair detangling brush work on dry hair?
No—dry detangling almost always causes micro-tears. Always add moisture first, even if it’s just a light mist of water + glycerin spray.
How often should I replace my detangling brush?
Every 6–12 months. Bristles degrade, harbor bacteria, and lose flexibility—increasing snag risk even if it “looks fine.”
Are wide-tooth combs better than a hair detangling brush?
For tightly coiled or damaged hair, yes—they offer more control. But for wavy or straight textures, a flexible-bristle brush speeds up the process with minimal harm.